Syncing Data
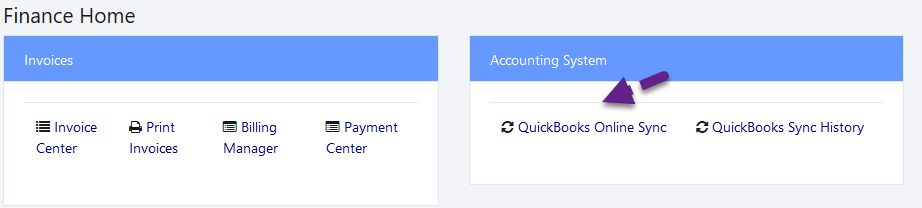
To sync data between Bizops and Quickbooks Online, you use the Quickbooks Online Sync option in Finance:
Before syncing, you first have to connect to Quickbooks Online and provide authorization:
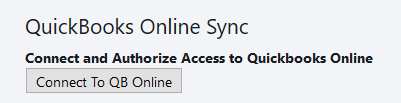
Click on Connect to QB Online. This will take you to a signin screen for Quickbooks Online:
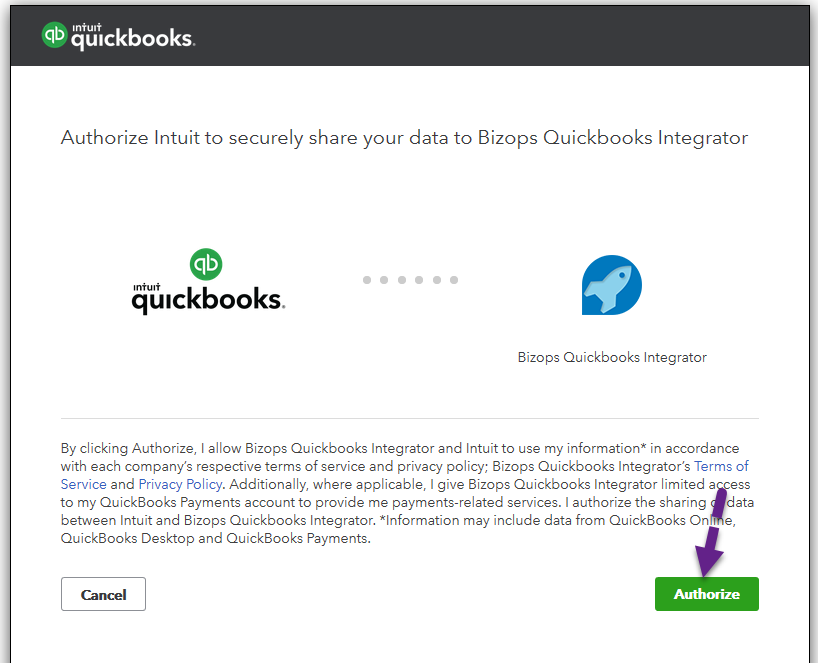
Once you have signed in, you will be asked to give Bizops authorization to access your Quickbooks Online account:
This will return you to Bizops and present you with your sync options:
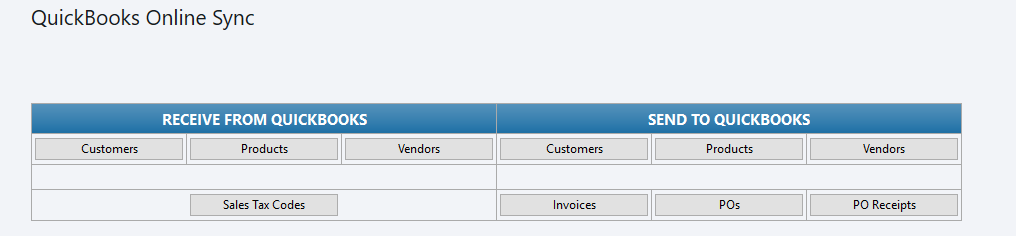
From here, you can sync data to or from Quickbooks.
Receive From Quickbooks:
The options here are used to receive any new customers, products, vendors and sales tax codes you've added directly into Quickbooks. Once you are entering customers, products and vendors into Bizops, this isn't necessary - it's normally used to import data when you are starting.
Send To Quickbooks:
This is where you sync different types of data and transactions. Please see the important note below. You click on the type of item you want to sync (Customers, Products, etc..). There will be a slight delay while the data is being sent and processed, and then you will see a message stating how many of the item you selected were synced (Invoices added: 8, for example). If there are any issues you will also receive a message detailing the problem.
Important:
You should sync customers, products and vendors under Send to Quickbooks before syncing invoices, pos and po reciepts to ensure that any new customers, products and vendors that may have been added are synced to Quickbooks in case they are used on the invoices/pos you are syncing.
Copyright 2018 Aegis Commerce Solutions
Toggle navigation